Laravel 實作 Google 第三方登入
分類
說明
本篇將分享 Laravel 實作 Google 登入程式的部分,除了最基本的在同個網域之下進行之外,我將另外分享如何跨域來實現 Google 登入。
前置作業
你需要先完成 Google API 服務的設定,最終你會取得
GOOGLE_CLIENT_ID
GOOGLE_CLIENT_SECRET
Laravel Socialite
使用 Laravel Socialite 實現 Google OAuth Provider 登入。使用上相當方便,但缺點是不能跨站登入,也就是說我只能在自己的網站做登入。
https://domain.com/login/auth/google
https://domain.com/login/auth/google/redirect
https://domain.com
如上範例,我只能在 domain.com 驗證、登入。
安裝
composer require laravel/socialite
設定
config\services.php
<?php

return [
    'google' => [
        'client_id' => env('GOOGLE_CLIENT_ID'),
        'client_secret' => env('GOOGLE_CLIENT_SECRET'),
        // redirect to callback rul
        'redirect' => env('GOOGLE_REDIRECT'),
    ],
]
.env
GOOGLE_CLIENT_ID=""
GOOGLE_CLIENT_SECRET=""
GOOGLE_REDIRECT="http://localhost:8000/auth/callback"
用 env 是方便在環境變數設定,你可以按照自己的偏好的方式設定,redirect 是 Google callback 網址,下方 Route 會設定 Google callback 路由。
Google 憑證
在 Google 憑證 > OAuth 2.0 用戶端 ID > 已授權的重新導向 URI 記得也加上 Google callback url。
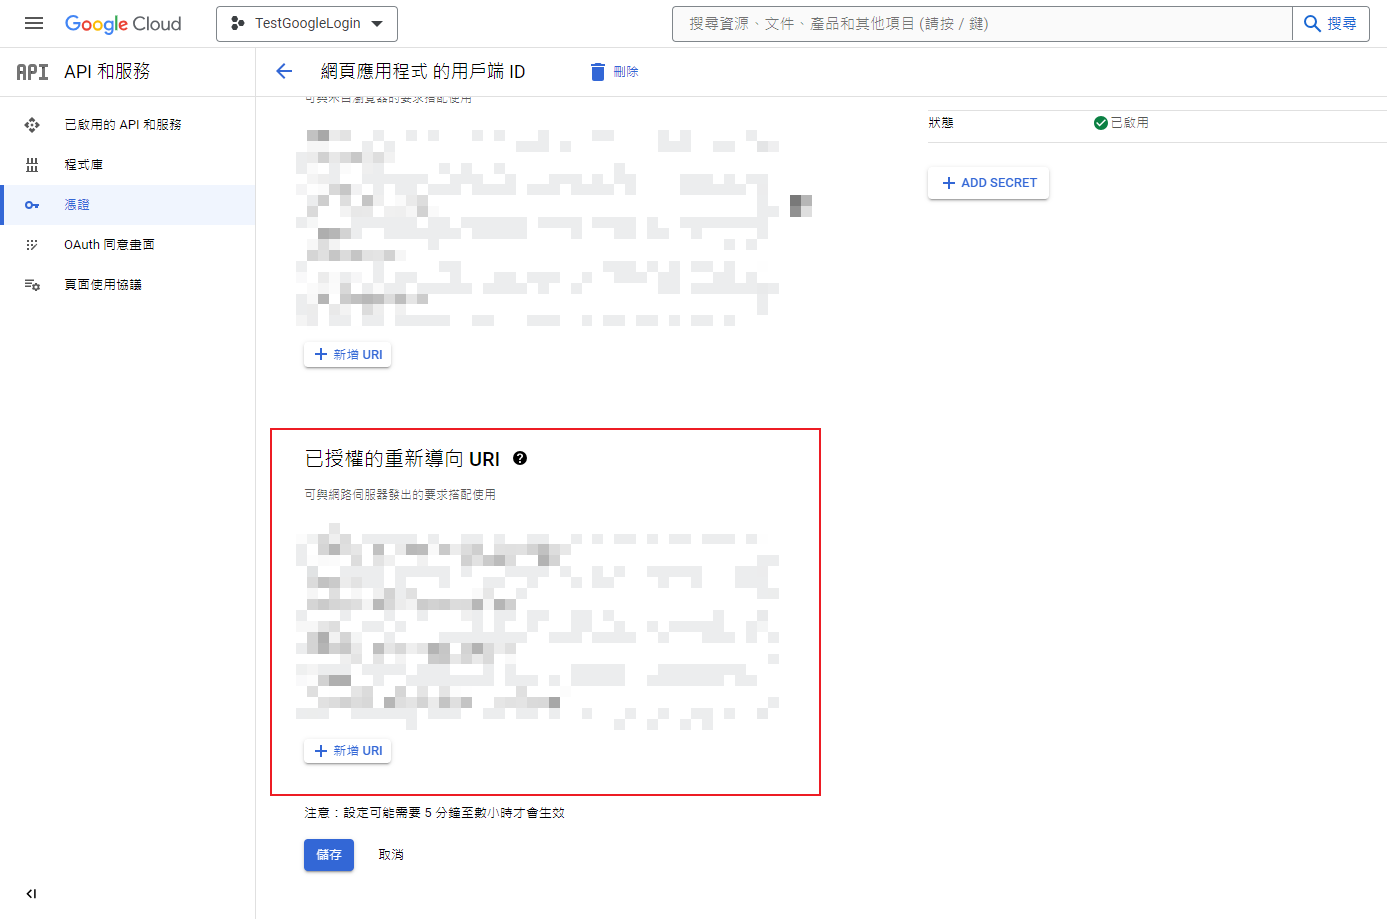
以本範例來說就是 http://localhost:8000/auth/callback。
Routing
要使用 OAuth Provider 來登入使用者,需要兩個 Route:一個用來將使用者重新導向到 OAuth Provider,另一個用來接收登入後 Provider 傳回來的回呼。
這裡使用最基本的範例給大家參考
routes\web.php
use Laravel\Socialite\Facades\Socialite;

Route::get('/auth/redirect', function () {
    return Socialite::driver('google')->redirect();
});

Route::get('/auth/callback', function () {
    $user = Socialite::driver('google')->user();
});
Socialite Facade 上的 redirect 方法負責將使用者重新導向到 OAuth Provider。當使用者同意登入要求後,user 方法會檢查傳入的 Request,並向 OAuth Provider 取得使用者的資訊。
先到 /auth/redirect 跳出 Google 登入視窗,登入後會重導向到之前設定的 GOOGLE_REDIRECT url,本範例會前往 /auth/callback,可以看到取得使用者資訊的程式碼。
跨站登入流程說明
跨站登入的流程為在前端使用 JavaScript 實作登入功能,並取得 Google 提供的驗證資料,像是 access token,code,jwt token,再將資料傳給後端做驗證,後端取得前端傳過來的資料,再跟 Google 驗證資料是否是真的 Google 的資料,如果驗證成功,就代表後端可以取得使用者資訊了。
- 前端登入,取得 Google 驗證資料。
- 呼叫後端 Google 登入 API,請求資料帶入 Google 驗證資料。
- 後端跟 Google 驗證資料是否正確。
- 若正確,使用前端帶過來的資料取得使用者資訊。
設定已授權的 JavaScript 來源
若要用 JavaScript 登入,記得要在 Google 憑證 > 已授權的 JavaScript 來源設定前端登入的網址
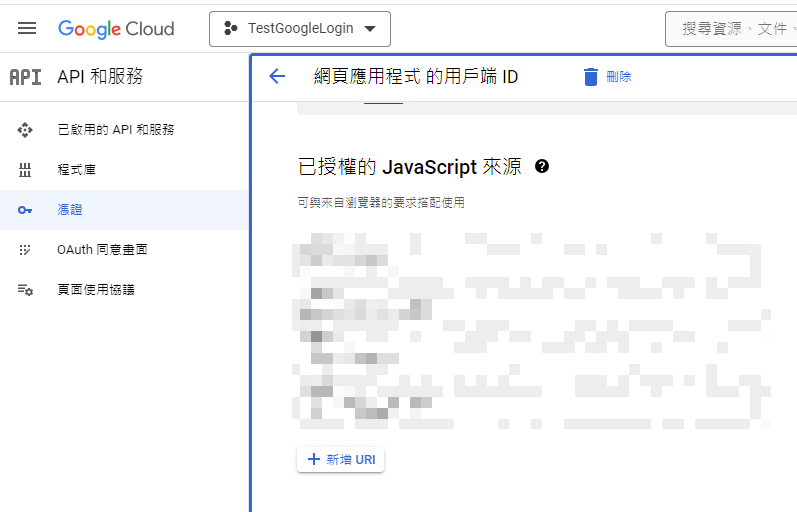
假設是 http://localhost:1234/login 那就是新增一筆 URI 填寫頂級網域 http://localhost:1234。
安裝 Google API Client 套件
在使用 Google JWT 或將 code 交換有效的授權權杖會需要使用 Google API Client 套件,很可惜我沒有在 Socialite 找到相關的方法可以處理這些事情。
安裝方式使用 Composer 安裝:
composer require google/apiclient
JWT 登入
前端 Google 登入取得 JWT(JSON Web Token),後端驗證 token,驗證成功後取得 payload。
註: JWT 就是編碼過的 json 資料。
註: payload 中文是有效負載,你可以當作是 JWT 解析出來的資料。
- handleCredentialResponse() 的 url 改成自己設定的 api 網址。
- client_id 改成自己的 Google 憑證 client id。
- params 是我自定義的,你可以自行更改你想要的參數。
<!DOCTYPE html>
<html lang="zh-Hant">

<head>
    <meta charset="utf-8">
    <meta name="viewport"
          content="width=device-width, initial-scale=1">
    <meta name="referrer"
          content="strict-origin-when-cross-origin">
    <meta name="Cross-Origin-Opener-Policy"
          content="same-origin-allow-popups">

    <title>JWT Login</title>

    <script src="https://accounts.google.com/gsi/client"
            async
            defer></script>
</head>

<body>
    <script>
        function handleCredentialResponse(response) {
            console.log("Encoded JWT ID: " + response.credential);

            const params = new URLSearchParams({
                Token: response.credential,
            });
            const url = new URL('http://localhost:8000/api/login/auth/google/jwt');

            url.search = params;

            // 使用 fetch 函數發送 GET 請求
            fetch(url.href)
                .then(response => {
                    // 檢查回應的狀態碼
                    if (!response.ok) {
                        throw new Error('Network response was not ok');
                    }
                    // 將回應解析為 JSON
                    return response.json();
                })
                .then(data => {
                    // 將 JSON 資料輸出到控制台
                    console.log(data);
                    console.log('Welcome.');
                })
                .catch(error => {
                    // 捕獲錯誤並輸出到控制台
                    console.error('There was a problem with the fetch operation:', error);
                });
        }

        window.onload = function() {
            google.accounts.id.initialize({
                client_id: 'your-client-id',
                callback: handleCredentialResponse
            });
            google.accounts.id.renderButton(
                document.getElementById("buttonDiv"), {
                    theme: "outline",
                    size: "large"
                }
            );
            google.accounts.id.prompt();
        }
    </script>
    <div id="buttonDiv"></div>
</body>

</html>
後端 JWT 驗證
後端驗證 JWT 的程式碼如下,你可以將這段程式碼,你可以將這段程式碼放在合適的地方,例如: Controller,Service 等等,當驗證通過之後,你就能取得 payload 進行後續的工作,最後你就能回應資訊給前端。
use Google\Client;

// Get $id_token via HTTPS POST.

$client = new Client();
$client->setClientId(config('services.google.client_id'));
$payload = $client->verifyIdToken($id_token);

if ($payload) {
  $userid = $payload['sub'];
  // If request specified a G Suite domain:
  //$domain = $payload['hd'];
} else {
  // Invalid ID token
}
這裡使用的 config('services.google.client_id') 是之前在使用 Socialite 所設定的。
Access Token 登入
前端 Google 登入取得 access token,後端驗證 token,驗證成功後取得使用者資料。
new URL()的 url 改成自己設定的 api 網址。- client_id 改成自己的 Google 憑證 client id。
- scope: 要取得使用者資訊的範疇,一般大概就是範例程式碼的這兩個,多筆可以空格區隔。
- params 是我自定義的,你可以自行更改你想要的參數。
<!DOCTYPE html>
<html lang="zh-Hant">

<head>
    <meta charset="utf-8">
    <meta name="viewport"
          content="width=device-width, initial-scale=1">
    <meta name="referrer"
          content="strict-origin-when-cross-origin">
    <meta name="Cross-Origin-Opener-Policy"
          content="same-origin-allow-popups">

    <title>Access Token Login</title>

    <script src="https://accounts.google.com/gsi/client"></script>
</head>

<body>
    <script>
        function login(accessToken) {
            const params = new URLSearchParams({
                Token: accessToken,
            });
            const url = new URL('http://localhost:8000/api/login/auth/google/access-token');

            url.search = params;

            // 使用 fetch 函數發送 GET 請求
            fetch(url.href)
                .then(response => {
                    // 檢查回應的狀態碼
                    if (!response.ok) {
                        throw new Error('Network response was not ok');
                    }
                    // 將回應解析為 JSON
                    return response.json();
                })
                .then(data => {
                    // 將 JSON 資料輸出到控制台
                    console.log(data);
                    console.log('Welcome.');
                })
                .catch(error => {
                    // 捕獲錯誤並輸出到控制台
                    console.error('There was a problem with the fetch operation:', error);
                });
        }

        const client = google.accounts.oauth2.initTokenClient({
            client_id: 'your-client-id',
            scope: 'https://www.googleapis.com/auth/userinfo.email https://www.googleapis.com/auth/userinfo.profile',
            callback: (response) => {
                console.log(response);
                const token = response.access_token;

                login(token);
            },
        });
    </script>
    <button onclick="client.requestAccessToken();">Authorize me</button>
</body>

</html>
後端 Access Token 驗證
access token 驗證可以使用 Laravel Socialite 取得使用者資訊。
use Laravel\Socialite\Facades\Socialite;
use Laravel\Socialite\Two\GoogleProvider;

/** @var GoogleProvider $googleDriver */
$googleDriver = Socialite::driver('google');
$user = $googleDriver->userFromToken($token);
Code 登入
Code 就是授權碼,前端 Google 登入取得 code,後端驗證 code,驗證成功後取得 access token,接著再用 access token 取得使用者資料。
- client_id: 改成自己的 Google 憑證 client id。
- redirect_url: 前端重新導向的 url。
- scope: 要取得使用者資訊的範疇。
- ux_mode: Google 登入的情境,範例採用 redirect,也就是重新導向的方式。
- const url: 改成自己設定的 api url。
<!DOCTYPE html>
<html lang="zh-Hant">

<head>
    <meta charset="utf-8">
    <meta name="viewport"
          content="width=device-width, initial-scale=1">
    <meta name="referrer"
          content="strict-origin-when-cross-origin">
    <meta name="Cross-Origin-Opener-Policy"
          content="same-origin-allow-popups">

    <title>Laravel</title>

    <script src="https://accounts.google.com/gsi/client"></script>
</head>

<body>
    <script>
        const tokenClient = google.accounts.oauth2.initCodeClient({
            client_id: 'your-client-id',
            redirect_uri: 'http://localhost:1234/login',
            scope: 'https://www.googleapis.com/auth/userinfo.profile https://www.googleapis.com/auth/userinfo.email',
            ux_mode: 'redirect',
        });

        let urlParams = new URLSearchParams(window.location.search);

        if (urlParams.has('code')) {
            const code = urlParams.get('code');
            const params = new URLSearchParams({
                Code: code,
            });
            const url = new URL('http://localhost:8000/api/login/auth/google/code');

            url.search = params;

            // 使用 fetch 函數發送 GET 請求
            fetch(url.href)
                .then(response => {
                    // 檢查回應的狀態碼
                    if (!response.ok) {
                        throw new Error('Network response was not ok');
                    }
                    // 將回應解析為 JSON
                    return response.json();
                })
                .then(data => {
                    // 將 JSON 資料輸出到控制台
                    console.log(data);
                    console.log('Welcome.');
                })
                .catch(error => {
                    // 捕獲錯誤並輸出到控制台
                    console.error('There was a problem with the fetch operation:', error);
                });
        }
    </script>
    <button onclick="tokenClient.requestCode();">Authorize me</button>
</body>

</html>
後端 Code 驗證
使用 Google Client 驗證 code,接著再取得 access token,然後再用 access token 驗證的方式取得使用者資料。
use Google\Client;
use Laravel\Socialite\Facades\Socialite;
use Laravel\Socialite\Two\GoogleProvider;

$client = new Client();
$client->setClientId(config('services.google.client_id'));
$client->setClientSecret(config('services.google.client_secret'));
$client->setRedirectUri('http://localhost:1234/login');
$response = $client->fetchAccessTokenWithAuthCode($code);
$accessToken = $response['access_token'];

/** @var GoogleProvider $googleDriver */
$googleDriver = Socialite::driver('google');
$user = $googleDriver->userFromToken($accessToken);
參考
一杯咖啡的力量,勝過千言萬語的感謝。
支持我一杯咖啡,讓我繼續創作優質內容,與您分享更多知識與樂趣!